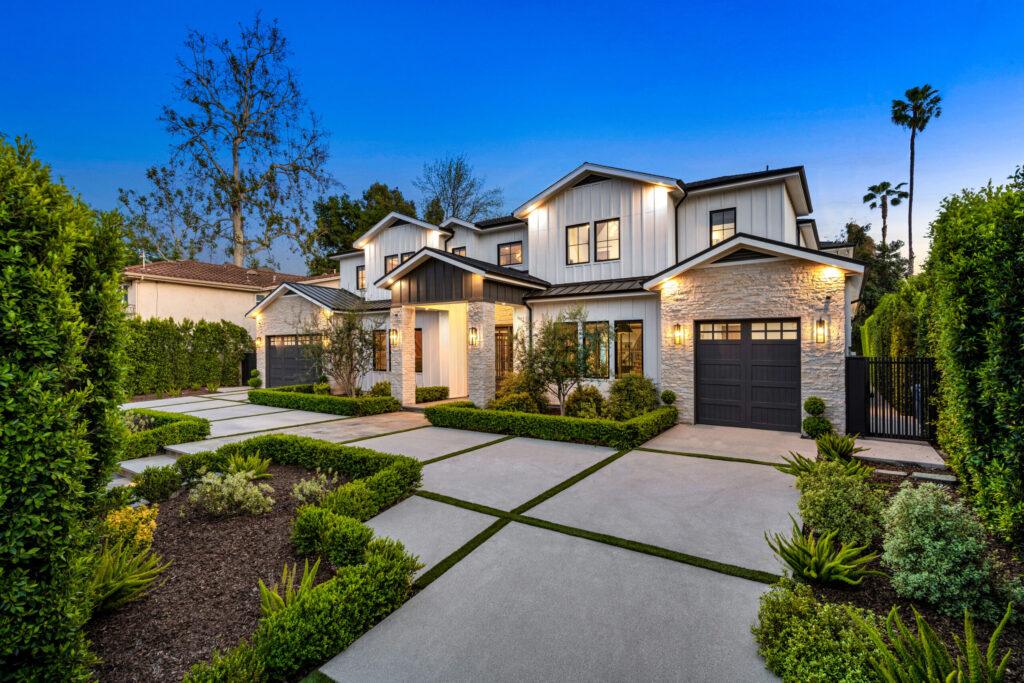
How to Redesign Your Landscape: A Step-by-Step Landscape Design and Build Process
Your property has potential. You see the slope in the yard. You notice where water collects after a heavy rain. You picture gatherings on a patio that does not yet exist. But knowing where to start can feel unclear. Without a clear plan, your outdoor project can feel pieced together. A patio may be installed before drainage is solved. Planting can happen before grading is corrected. Retaining walls may come later instead of being designed from the start. The result often lacks flow. With the right guide, that doesn’t have to be the case.
Step 1: Define How You Want to Use Your Outdoor Space

Every successful landscape design and build process starts with function. Before any drawings begin, you consider how you truly use your outdoor space. Do you host large dinners, prefer quiet seating, or want garden beds, an orchard, or open space for children? These decisions shape everything that follows. This stage is often part of the landscape design consultation process. You walk through your daily routines and seasonal habits. You might consider:
• Dining areas near the kitchen
• Gathering spaces for guests
• Quiet seating with privacy
• Garden beds for herbs or flowers
• Orchard areas with room to grow
This forms the foundation of the backyard landscape design process. When you define purpose first, each decision supports how you truly use your property. Phil and his team are involved from the start. They spend time on site, listening and observing, because building meaningful spaces for families is central to our approach to the design and build process.
Step 2: Walk the Property and Evaluate Grade, Drainage, Soil Conditions, and Light

Once you clarify use, you assess the land itself. The landscape design and build process must respond to what already exists. You will walk the property and review:
• Slope and elevation changes
• Soil composition
• Areas where water collects
• Downspout locations
• Existing trees and root zones
This is where drainage planning begins. Before patios are finalized, you look at how water moves across your yard, because proper grading supports everything that follows. Good design means drainage is addressed early in the construction process steps. Rainfall and soil conditions are carefully reviewed. We pay close attention to these details on site, ensuring the landscape process reflects real conditions, not assumptions.
Step 3: Plan Grading and Retaining Walls for Sloped Yards
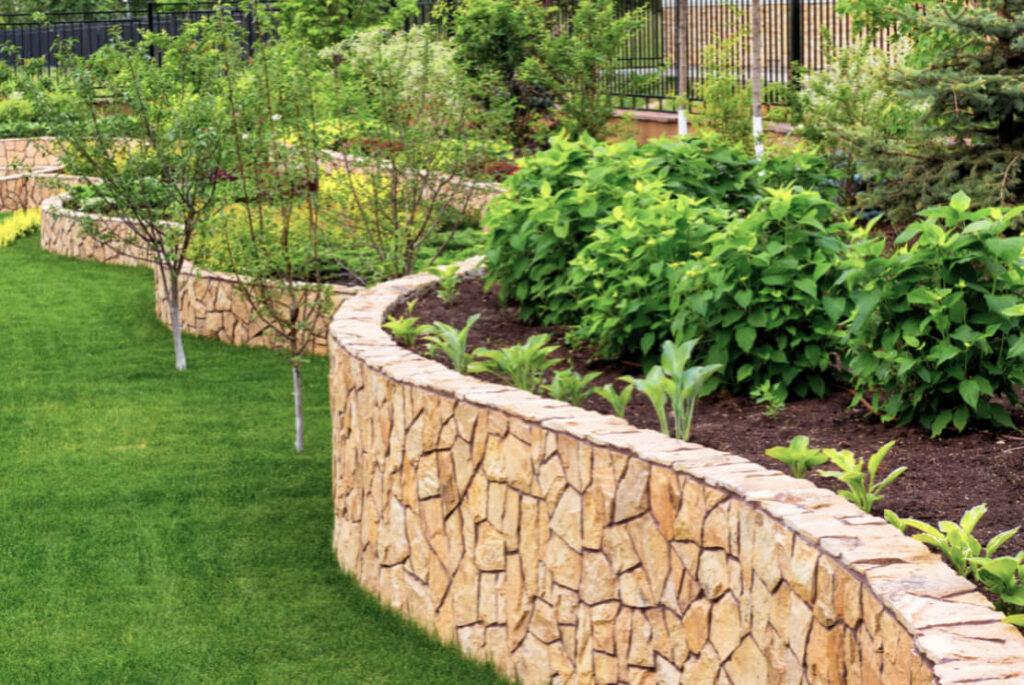
If your property has elevation changes, retaining walls may be required to create usable, level spaces. In the landscaping design and build process, structure comes before surface finishes. You’ll need to determine:
• Where walls shape functional areas
• How they prevent erosion
• How they support patios and walkways
• How drainage integrates behind them
Retaining walls are not only visual features. They manage soil pressure and redirect water. Proper drainage behind each wall protects your investment long term. This stage is central to the landscape construction process steps. Without stable grading and structural support, patios and planting areas can shift over time. In the backyard landscape design process, walls often define outdoor rooms. Phil and his team remain involved in layout and elevation details. They care about precision. They review alignment, material selection, and how each wall connects with surrounding features. If you would like to explore structural options and materials in more detail, visit our Retaining Walls Services for further information.
Step 4: Design Patios Around How You Gather and Entertain
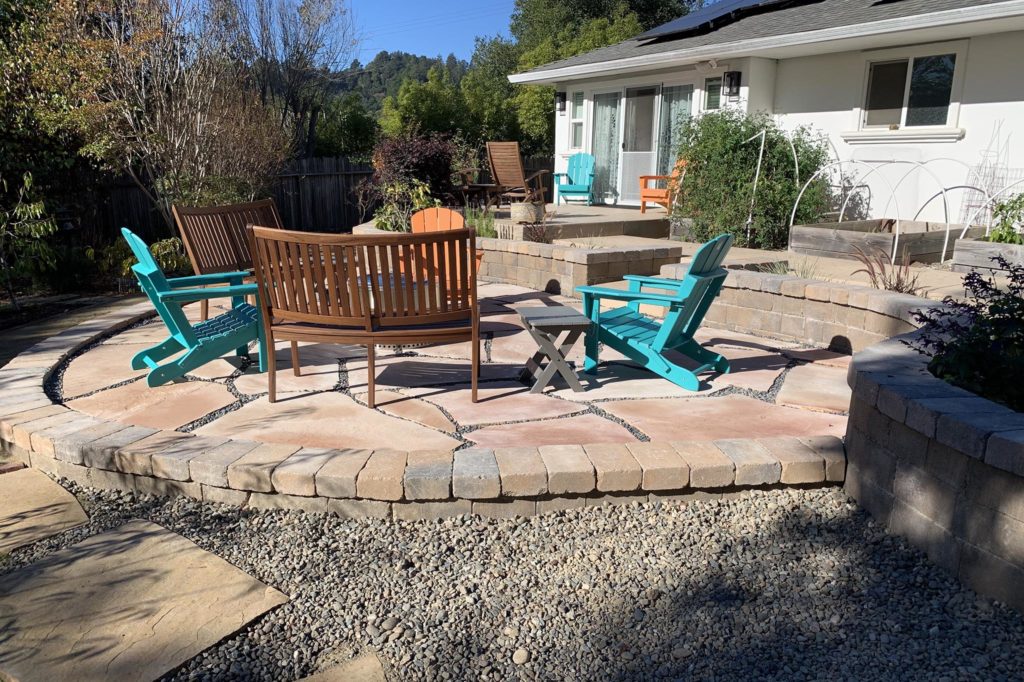
With grading established, you design patios based on real use. In the landscaping design and build process, patios are shaped by lifestyle, not guesswork. You define patio size, placement, and orientation by asking practical questions:
• How many people gather at one time?
• Where does the sun rise and set?
• What views do you want to preserve?
• How does the patio connect to interior rooms?
• How does it relate to retaining walls?
• Which views do you want to preserve?
• How will plantings relate to the spaces where you gather and sit?
Sun exposure matters. A south-facing patio may need shade, while a west-facing space can capture beautiful evening light. This stage also sets expectations for construction. Excavation, base preparation, and proper slope are planned in advance, with the patio supported by the structural work completed earlier in the landscaping process. To learn more about layout options, materials, and what goes into a well-built patio, you can explore our Patio Services for additional details.
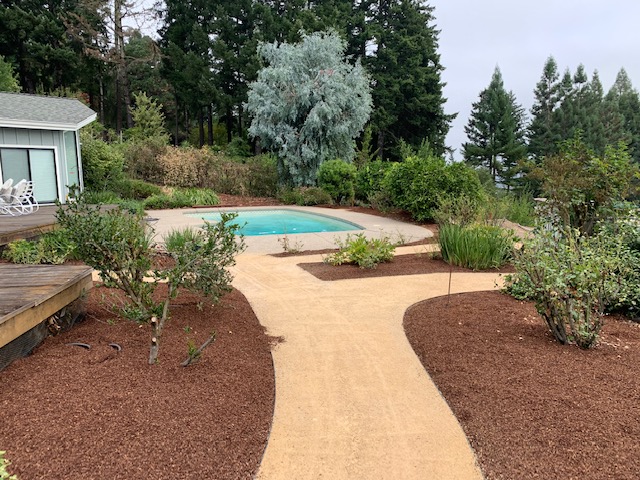
Step 5: Design Walkways That Guide Movement Naturally
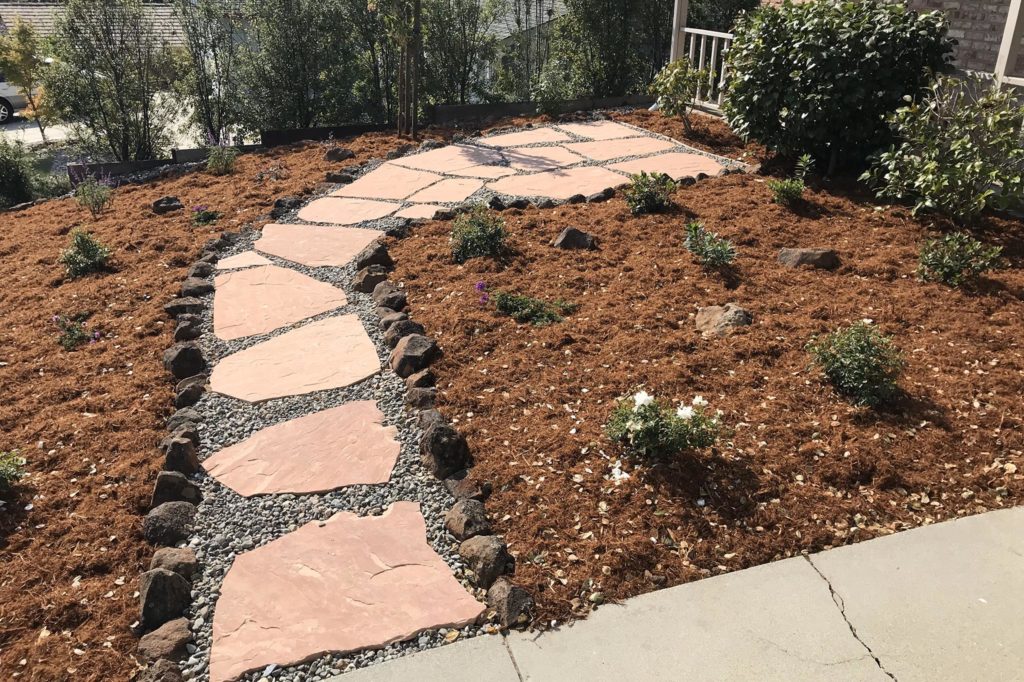
Movement through your property should feel comfortable and intuitive. In the landscape design and build process, walkways guide that experience. You plan how people move between the home and the outdoor points of interest that matter most to them, such as:
• Doors and patios
• Patios and decks
• Garden areas and orchard spaces
• Front and back yards
Walkways are graded carefully. A proper slope directs water away from structures while remaining easy to walk on. This detail is part of how landscaping design works in practice. Function supports beauty. In the backyard landscape design process, pathways often create rhythm. Curves soften a space. Straight lines provide clarity. Material choice ties into retaining walls and patios for consistency. Our team reviews transitions closely. We believe craftsmanship shows in the small details. The alignment of a walkway edge or the tightness of a joint matters. That careful oversight strengthens the entire landscaping process.
Step 6: Integrate Decks, Fences, and Shade Structures Into the Overall Layout
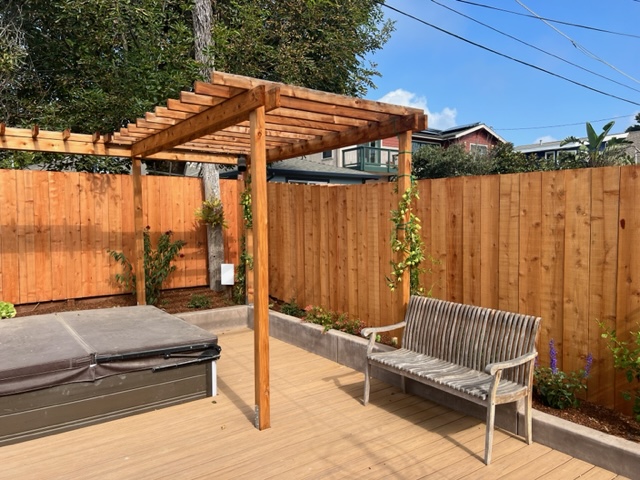
Decks, fences, and shade structures should feel connected to the landscape rather than separate additions. In a complete landscaping design and build process, these elements are coordinated early. You will decide how:
• Decks transition smoothly to patios
• Fences provide privacy without feeling closed in
• Pergolas or shade structures define seating areas
These components affect sightlines, airflow, and movement. Planning them together prevents awkward junctions later. If you want to explore this further, visit our latest blog, Landscape Design and Build Guide for a Complete Outdoor Living Space, for a broader overview of outdoor integration. Understanding how landscape design works includes recognizing that each feature influences the next. By aligning decks, fences, and walls within the landscaping process, your property feels unified.
Step 7: Integrate Outdoor Lighting for Safety and Atmosphere
Lighting extends usability into the evening. In the design and build process, lighting is planned alongside hardscapes and planting. You might plan lighting for walkways, retaining walls, patios, trees, and deck areas. Lighting supports safety by illuminating steps and transitions. It also highlights textures in stone and foliage. Understanding what to expect during landscape construction includes knowing that wiring and fixtures are installed carefully before final grading and planting are complete. The landscape process ensures lighting is subtle and purposeful. It enhances architectural details and supports evening gatherings without overpowering the space.
Outdoor lighting also extends your sense of space indoors. When the yard is lit at night, your field of vision reaches beyond the windows rather than stopping at the glass. Instead of seeing your own reflection, you see the landscape. Interior rooms feel larger, and the connection between inside and outside continues well into the evening.
Step 8: Plan Drainage as Part of the Overall System

Drainage is often invisible, yet it quietly supports every visible feature. In the landscape design and build process, you confirm where water exits the property before construction begins. You’ll need to coordinate:
• Patio slope
• Retaining wall drainage
• Yard grading
• Downspout routing
Each element works together. Water should move away from your home and off your property efficiently. During the landscape design consultation process, these decisions are discussed openly. You review how grading affects neighboring properties and how systems perform during heavy rainfall. This clarity helps you understand what to expect during construction. Drainage installation happens beneath surfaces. Pipes, gravel layers, and outlets are installed before final finishes. The landscape process is strongest when drainage is treated as a system rather than a separate task.
Step 9: Select Trees to Anchor the Landscape

Trees create structure. In the landscape design and build process, you choose structural trees before smaller plantings. Tree placement affects:
• Shade over patios
• Privacy near decks
• Orchard layout
• Lighting design
Large canopy trees provide summer shade, while evergreens offer year-round privacy. Placement accounts for root growth and mature size. In the backyard design process, trees shape outdoor rooms and frame views around patios and walls. Phil reviews branch structure and growth patterns carefully, selecting strong nursery stock so your landscape remains healthy for decades.
Step 10: Finalize Plant Selection for Long-Term Health
Plant selection builds on the structure already in place. You choose plants suited to your soil, sun exposure, and maintenance preferences, ensuring they thrive in your environment. Materials also matter. Stone, wood, and planting elements are selected for durability and California conditions, supporting long-term stability and a cohesive appearance.
Step 11: Plan and Install an Orchard With Intention

If you are installing an orchard, it is integrated into the broader landscape design and build process rather than treated as a separate project. You’ll need to consider:
• Tree spacing for healthy growth
• Access to irrigation
• Sun exposure
• Proximity to walkways and gathering areas
An orchard can become a central feature of your yard. It can also provide seasonal interest and a sense of rhythm. In planning a backyard renovation, many homeowners overlook how orchards affect circulation and maintenance. Integrating orchard layout within the landscape construction process steps ensures irrigation, grading, and access are addressed from the start. Your orchard then becomes part of a cohesive outdoor environment.
Step 12: Finalize the Professional Design Before Construction Begins

Before construction begins, the professional design package is completed. In the landscape design and build process, clarity at this stage prevents confusion later. You receive final layouts, drainage plans, and material suggestions. Each drawing reflects the decisions made during the landscape design consultation process. Once approved, construction moves forward with careful execution and on-site oversight. We stay involved in the field, reviewing details to ensure workmanship meets expectations. When the landscape process is complete, your property functions well and feels cohesive. You can move forward with confidence and contact us.
A Clear Path Forward for Your Property
Redesigning your yard becomes manageable when you understand the landscape design and build process from start to finish. By following structured landscape construction process steps, you gain clarity on how landscape design works and what to expect during landscape construction. A thoughtful landscape process supports long-term performance and enjoyment.
Summary
A clear landscape design and build process helps you move from ideas to a well-structured, lasting outdoor space. By defining how you use your yard, addressing grading and drainage early, and coordinating hardscapes with planting, you create a cohesive result. With careful planning and hands-on oversight, each step supports long-term performance and everyday enjoyment.
